Showing posts with label hand carved rubber stamp. Show all posts

Tuesday, November 11, 2008

My first stamp!


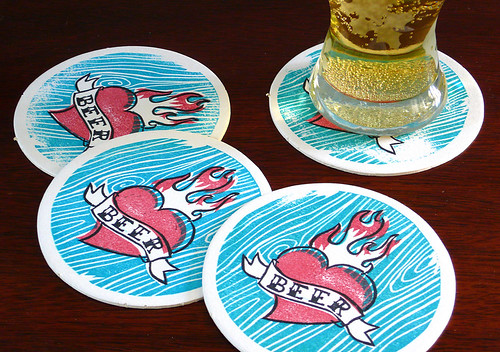
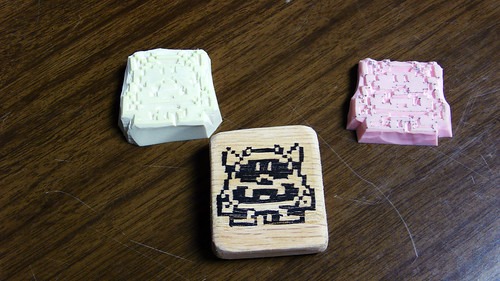
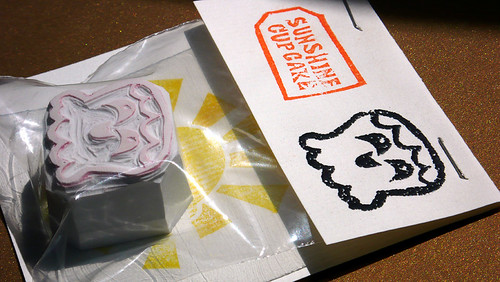
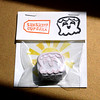
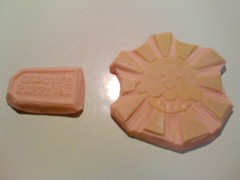
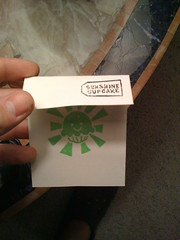
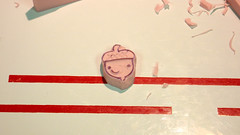
I finally decided to try carving my very own stamp last night. Since Nathan keeps churning out awesome stamp after awesome stamp, how hard could it be? Turns out, it's kind of a pain in the ass at first, but so worth it once you get the hang of it.

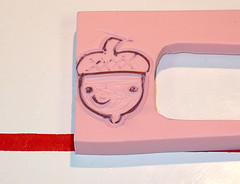
As an illustrator who works almost exclusively on the computer, whether using the dreaded pen tool in Adobe Illustrator or drawing on my Wacom tablet in Corel Painter, kickin' it old school and actually making something by hand was a challenge for me. You see, linocutters do not have an "undo" command. So when you carve a chunk out of your line art on a stamp, it stays carved. Ugh! This means I had to work slower and more patiently than usual. Nathan was a big help and showed me some techniques like... carving in narrow, shallow strokes instead of deep gouging ruts (maybe I need a better outlet for my pent-up energy?) Also, in the real world, there's no "zoom" tool. Some of the details are so tiny, I felt like my eyes were going to cross and stay that way.

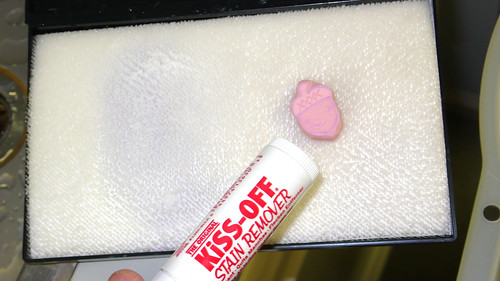
Gripes aside, working with physical tools and materials that don't always behave how you want them to was actually kind of theraputic for me, like putting Elmer's glue on your hands and slowly peeling it off.

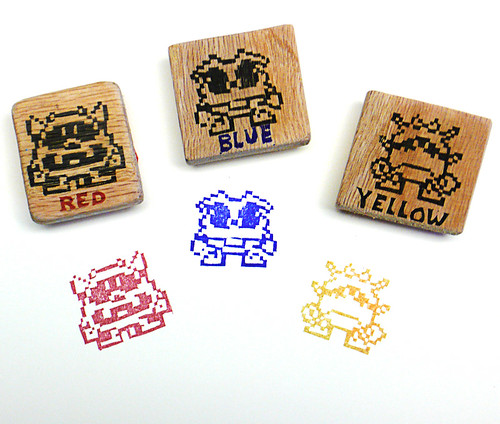
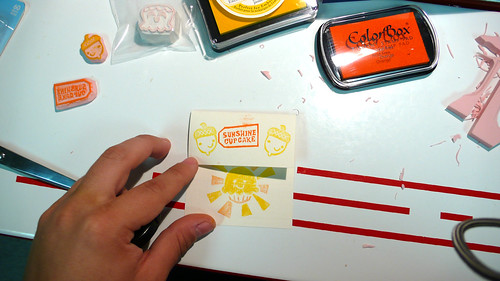
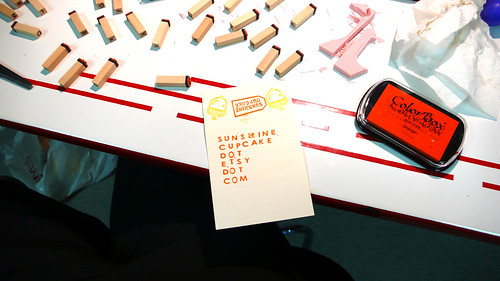
Nate and I both worked on the same stamp design (a little Totoro) so I could compare my shaky job with his rockin' one. It was hard work, but once I saw my finished stamp, it made me want to make more.

Yay Beer! Coasters!

blue-sacred-beer-heart_111008_02SM

Just finished up our first sets of coasters: Sacred Beer and Chartreuse Woodgrain. The top image is Mona's original illustration of a sacred beer tattoo that I carved for a three-color print. So that's three separate stamps, which then had to be registered by eye for printing. Of course she had to hand draw an old-timey seriffed font [edit: I thought it was a real font, but Mona just scolded me and told me she drew the text by hand, so I'm editing], which is not exactly easy to carve, but it came out better than I expected. I tweaked the design to allow for things to not have to line up perfectly, and I love how they came out. You can see more pics in my Flickr set. (If you look closely, you can see the etched leaves glass)

We're trying to think of more "useful" items for the shop, rather than just "luxury" collectibles. So into the housewares venue we go. I'm working on some wall paintings of illustrations of mine. I'll post them when I get them finished. I'm painting in oils for the first time, I've never really had the space or ventilation before in our shoebox of a NYC apartment, but now that I do: mmm, colors.

lime-woodgrain-coaster_111008_04sm

Also in the pipe are some ACEOs of a holiday Totoro from Mona's illustration. I think it's pretty freaking sweet and can't wait to finish it. I wanted to make some prints larger than the typical rubber stamp can handle, and since we aren't in our own house yet and don't have the space for silkscreening, I though linocut prints would be the next logical step. Ouch. Whole different animal. I did a small test on a 2x2 lino block of soot sprites, and so far the results aren't quite what I expected. I think I need to measure my ink distribution and adjust the depth of my detail cuts. I'll keep at it though and post more when I've gotten a bit further along.

Tuesday, October 21, 2008

Finished viral infection. Red, Blue and Yellow style.

Finished carving 3 Dr. Mario virus stamps and listed in the Sunshine Cupcake! Etsy store. Red, Blue, Yellow or a set of all three.

As a side note, you can subscribe to our Sunshine Cupcake! Flickr set.

red-blue-yellow-virus_102008_01

I even went so far as to (attempt to) record a video tutorial on carving 8-bit rubber stamps. Here's a little taste of the awesome that goes on over here in Cupcakeland.

Thursday, October 16, 2008

Dr. Mario, I presume?

red-virus-drmario_101608_01

Just finished carving a couple Red Virus stamps. They were much less a pain in the butt than I was expecting. I thought the square-edged pixels were going to be a nightmare. The trick is using an Xacto knife and not lino cutters. Tomorrow I'll work on Blue and Yellow.

Friday, September 26, 2008

Final Packaging for hand-carved Cake stamps. Also: pie.

happy-cake-package_0925_0005sm

Had some fun in packaging land today, and now we've got Happy Cake Stamp, Sad Cake Stamp, Grumpy Cake Stamp and Owl Cake Stamp all packaged up, listed on etsy, and ready to go.

Owl Cake Rubber Stamp Packaging Front Grumpy Cake Rubber Stamp Packaging Front Sad Cake Stamp Packaging Front happy-cake-package_0925_0001sm

I've been playing with embossing powder for a lot of the printing on the header cards. I'm liking it lots. The stuff we originally got was kind of coarse, so today we went out and got some extra fine powder. More on how that turns out later.

Unfortunately, Owl Cake Stamp was too large for the regular poly bags, and so we had to use a larger one that doesn't quite fit into the header card's width, and I had to fold it a bit. I'm going to try to find some better-fitting bags for future stamps of that size (2.5" square). Anyone know where I can get some?


Also, last night I made pie.
Mmm. Pie.

Tuesday, September 23, 2008

Rubber stamp packaging test

Last night I experimented with a possible packaging design for the rubber stamps.

First I needed some new stamp designs.
Sunshine cupcake header stamps Sunshine cupcake header card test
So I took the logo from the banner, printed it out, and transferred it to the stamp with a xylene blending pen. You're supposed to use toner-based printouts, but all we have in the house are inkjets, so I tried it anyway. It worked, but not well. Just enough to put in a faint image that I could carve around (I've also heard you can use a slightly-warm iron to transfer inkjet images, but I wasn't feeling adventurous enough).

Mona also made a SUNSHINE CUPCAKE text tag logo and I transferred and carved that as well. Mini letters are kind of completely evil, but I started using a harder pink rubber stamp material, so it was much easier to get the fine details. I still couldn't rely on the lino-cutters exclusively and had to bust out the xacto here and there.

Next I asked Mona to draw something "fallish" to add to the header, so she drew a happy acorn directly on the stamp rubber with a ballpoint pen and I carved that puppy out.
carving-acorn_080922_01
carving-acorn_080922_02 carving-acorn_080922_03

Then I used some Kiss-Off and a rubber stamp-cleaning pad and that got most of the ballpoint ink off. It also works well for pigment ink and dye ink, though it's not perfect if the ink's been on there too long. I found it to work best when it was applied directly to the cleaning pad without any water. Once water was introduced it got foamy, but didn't seem to clean as well. I tried using Master's Brush Cleaner as well, which works great for dried paint on brushes, but it didn't do much.
cleaning-stamp_080922_01

Next I tried using some inking markers we found at the craft store that are for coloring your stamps with multiple colors. I used yellow and orange for the cupcake sun logo. It was pretty much a disaster, as you can see. There was hardly any ink transfer to the paper, it dried too quickly. I'd read about people having good results with these so I was disappointed by the actual results. I'll stick with pigment pads.
Packaging-tests_0922_0009

Next I wanted to get our store website link on the package somehow. Eventually, I'll probably print out a text logo, transfer it to a stamp and carve it out, but for now I tried some alphabet stamps we had. I like the misregistration of it all (pay no mind to the smudge I made. There is no man behind the curtain).
Packaging-tests_0922_0011
Packaging-tests_0922_0012

And to top it all off, the finished mock-up, complete with Happy Cake stamp:
Packaging-tests_0922_0010